

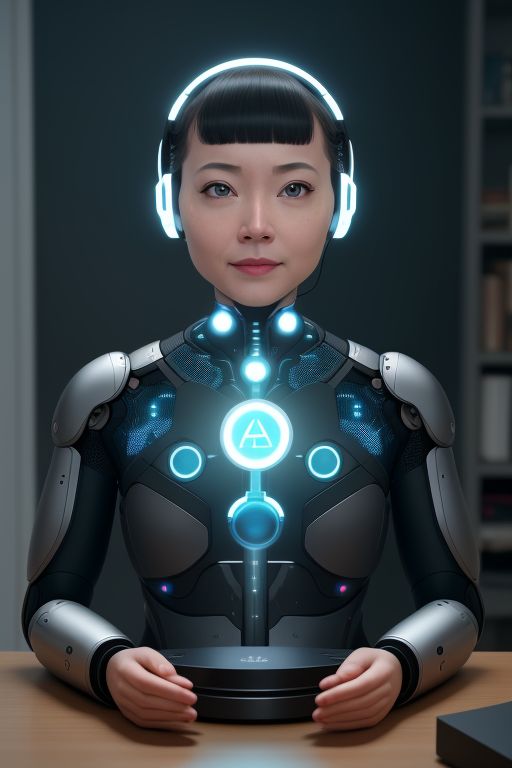
Artificial Intelligence (AI) has become an integral part of our daily lives, powering everything from virtual assistants to recommendation systems. While most people rely on cloud-based AI services like ChatGPT, Google Assistant, or Alexa, there’s a growing interest in self-hosting AI agents at home. Self-hosting allows you to take control of your data, customize your AI experience, and ensure privacy. In this article, we’ll explore what self-hosting AI agents entails, the tools and hardware you’ll need, and how to get started.
What Are AI Agents?
AI agents are software programs that perform tasks autonomously or semi-autonomously, often using machine learning models to process data, make decisions, and interact with users. Examples include chatbots, personal assistants, and automation tools. By self-hosting these agents, you can run them on your own hardware, eliminating reliance on third-party cloud services.
Why Self-Host AI Agents?
- Privacy and Security: When you self-host, your data stays on your local network, reducing the risk of exposure to third parties.
- Customization: You can tailor AI agents to your specific needs, whether it’s a personal assistant, a home automation system, or a creative tool.
- Offline Functionality: Self-hosted AI agents can operate without an internet connection, ensuring uninterrupted service.
- Cost Efficiency: While there’s an upfront cost for hardware, self-hosting can save money in the long run by avoiding subscription fees.
- Learning Opportunity: Building and maintaining AI agents at home is a great way to learn about AI, machine learning, and networking.
What You’ll Need
To self-host AI agents at home, you’ll need the following:
1. Hardware
- A Powerful Computer or Server: AI models, especially large language models (LLMs), require significant computational resources. A machine with a modern CPU, a high-end GPU (e.g., NVIDIA RTX 3090 or 4090), and ample RAM (32GB or more) is ideal.
- Single-Board Computers (Optional): For lightweight AI tasks, devices like the Raspberry Pi or NVIDIA Jetson Nano can be used.
- Network Attached Storage (NAS): For storing large datasets or model weights.
- Home Server (Optional): A dedicated server or old PC can be repurposed for running AI agents 24/7.
2. Software
- Operating System: Linux (e.g., Ubuntu) is preferred for its compatibility with AI frameworks.
- AI Frameworks: TensorFlow, PyTorch, or ONNX for running machine learning models.
- Containerization Tools: Docker or Podman for isolating AI environments.
- Pre-Trained Models: Open-source models like GPT-J, LLaMA, or Mistral for language tasks, or Stable Diffusion for image generation.
- APIs and Middleware: Tools like FastAPI or Flask to create interfaces for your AI agents.
3. Networking
- Local Network Setup: Ensure your home network is secure and reliable.
- Remote Access (Optional): Use VPNs or tools like Tailscale to access your AI agents remotely.
Steps to Self-Host AI Agents
Here’s a step-by-step guide to setting up your own AI ecosystem at home:
1. Choose Your AI Agent
Decide what kind of AI agent you want to host. Examples include:
- Chatbots: Use models like GPT-J or LLaMA for conversational AI.
- Home Automation: Integrate AI with smart home devices using platforms like Home Assistant.
- Media Generation: Use Stable Diffusion for image generation or Tortoise-TTS for text-to-speech.
2. Set Up Your Hardware
- Install your preferred operating system on your server or computer.
- Ensure your GPU drivers and CUDA libraries are installed for optimal performance.
3. Install AI Frameworks and Models
- Download and install frameworks like TensorFlow or PyTorch.
- Download pre-trained models from repositories like Hugging Face or OpenAI’s model hub.
4. Containerize Your AI Agent
- Use Docker to create a container for your AI agent. This ensures portability and simplifies dependency management.
- Example: Create a Docker container for a chatbot using GPT-J.
5. Develop an Interface
- Use FastAPI or Flask to create a web-based interface for interacting with your AI agent.
- Alternatively, integrate your AI agent with existing platforms like Home Assistant or Discord.
6. Optimize for Performance
- Fine-tune your models to reduce resource usage.
- Use quantization techniques to run models more efficiently on limited hardware.
7. Secure Your Setup
- Use firewalls and VPNs to protect your network.
- Regularly update your software to patch vulnerabilities.
8. Automate and Scale
- Use tools like Kubernetes to manage multiple AI agents.
- Automate tasks using cron jobs or scripts.
Challenges of Self-Hosting AI Agents
- Hardware Costs: High-performance GPUs and servers can be expensive.
- Technical Expertise: Setting up and maintaining AI agents requires knowledge of AI, networking, and system administration.
- Energy Consumption: Running powerful hardware 24/7 can lead to high electricity bills.
- Model Limitations: Open-source models may not match the performance of proprietary ones like GPT-4.
Popular Self-Hosted AI Projects
Here are some open-source projects to explore:
- Oobabooga’s Text Generation Web UI: A user-friendly interface for running language models.
- Stable Diffusion Web UI: For generating images locally.
- Home Assistant: Integrate AI with your smart home devices.
- KoboldAI: A platform for running AI-powered text adventures.
Conclusion
Self-hosting AI agents at home is a rewarding endeavor that offers greater control, privacy, and customization. While it requires an investment in hardware and technical knowledge, the benefits of having a personal AI ecosystem are well worth the effort. Whether you’re building a chatbot, automating your home, or experimenting with creative AI tools, self-hosting empowers you to take AI into your own hands.
Start small, experiment, and gradually expand your setup. With the right tools and mindset, you can create a powerful, private, and personalized AI experience at home.